- English
- French
- German
- Portuguese
- Spanish
- Russian
- Japanese
- Korean
- Arabic
- Greek
- German
- Turkish
- Italian
- Danish
- Romanian
- Indonesian
- Czech
- Afrikaans
- Swedish
- Polish
- Basque
- Catalan
- Esperanto
- Hindi
- Lao
- Albanian
- Amharic
- Armenian
- Azerbaijani
- Belarusian
- Bengali
- Bosnian
- Bulgarian
- Cebuano
- Chichewa
- Corsican
- Croatian
- Dutch
- Estonian
- Filipino
- Finnish
- Frisian
- Galician
- Georgian
- Gujarati
- Haitian
- Hausa
- Hawaiian
- Hebrew
- Hmong
- Hungarian
- Icelandic
- Igbo
- Javanese
- Kannada
- Kazakh
- Khmer
- Kurdish
- Kyrgyz
- Latin
- Latvian
- Lithuanian
- Luxembou..
- Macedonian
- Malagasy
- Malay
- Malayalam
- Maltese
- Maori
- Marathi
- Mongolian
- Burmese
- Nepali
- Norwegian
- Pashto
- Persian
- Punjabi
- Serbian
- Sesotho
- Sinhala
- Slovak
- Slovenian
- Somali
- Samoan
- Scots Gaelic
- Shona
- Sindhi
- Sundanese
- Swahili
- Tajik
- Tamil
- Telugu
- Thai
- Ukrainian
- Urdu
- Uzbek
- Vietnamese
- Welsh
- Xhosa
- Yiddish
- Yoruba
- Zulu
Flange Bolt Tightening Sequence: A Practical Guide to Leak-Free Joints
Sep 20 2026
Why Flange Bolt Tightening Sequence Matters
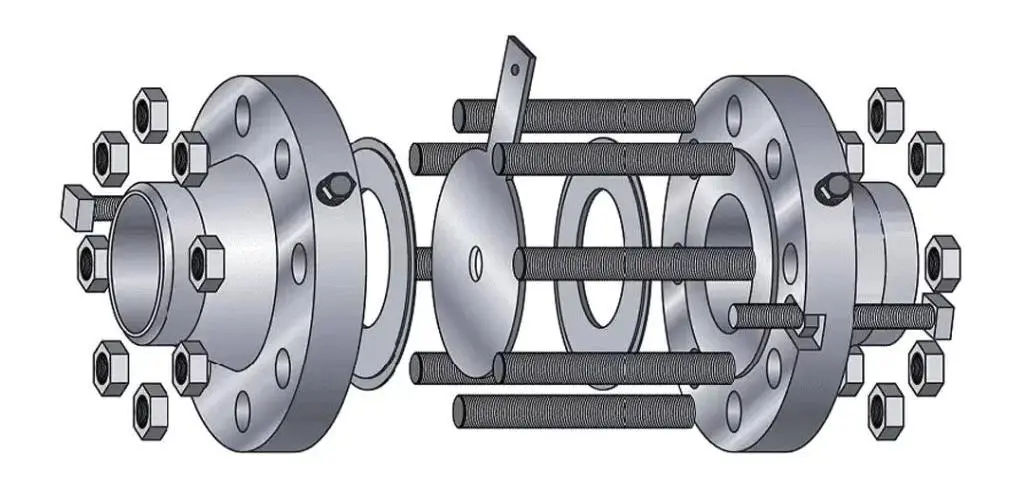
A bolted flange joint can leak even when the flange, gasket, bolts, and nuts meet the required specification. One of the most common causes is an uncontrolled tightening sequence. If one bolt receives full torque before the surrounding bolts have been brought into contact, the flange can tilt, the gasket can be compressed unevenly, and the final bolt load may vary from bolt to bolt.
For ASME B16.5 flanges and similar industrial joints, the objective is not simply to make every bolt tight. The objective is to compress the gasket evenly and maintain a stable bolt load around the complete joint. A planned tightening sequence, combined with the correct torque value and clean contact surfaces, helps reduce leakage risk during hydrostatic testing, startup, thermal cycling, and long-term service.
Checks Before Tightening Any Bolt
Do not begin torque work until the joint has passed a basic assembly check.
- Confirm that the flange dimensions, pressure class, facing, and material match the project specification.
- Inspect flange faces for scratches, corrosion, raised metal, dirt, paint, or old gasket residue.
- Verify that the gasket type, size, thickness, and material are correct for the service conditions.
- Check bolts, studs, nuts, and washers for correct grade, length, thread condition, and damage.
- Make sure the pipe is aligned. Do not use bolt torque to pull misaligned flanges together.
- Use the lubricant specified by the tightening procedure. Dry and lubricated threads require different torque values.
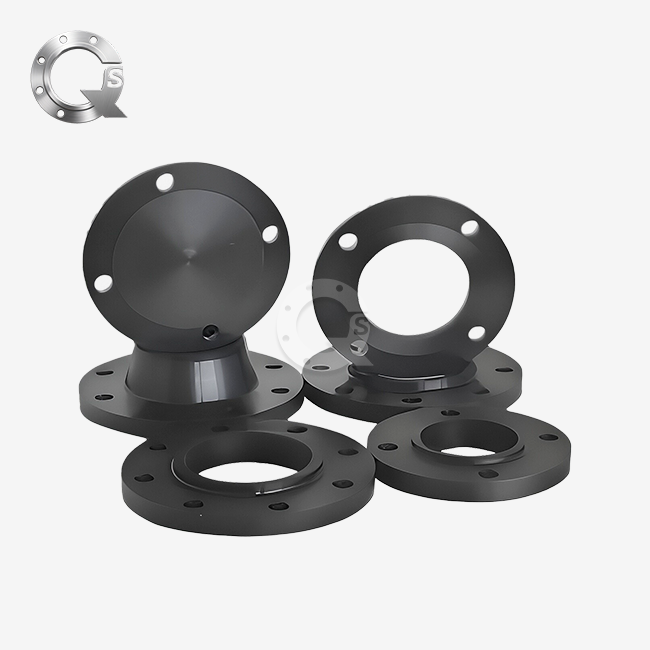
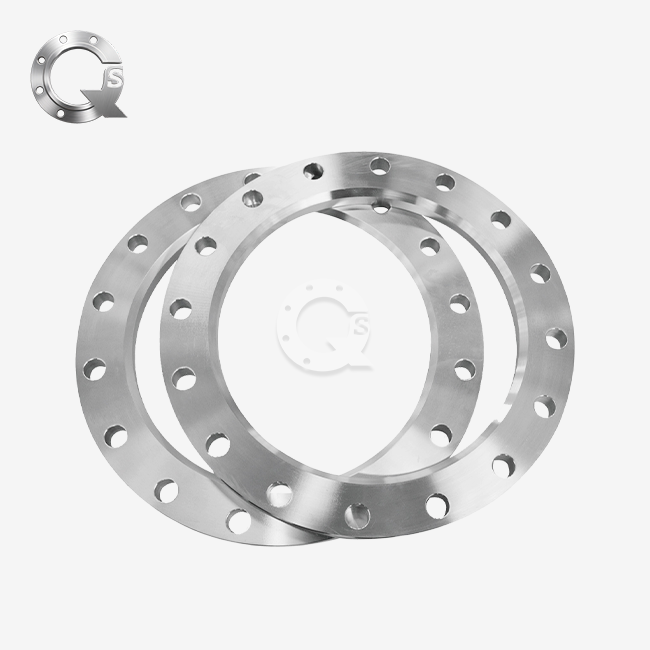
For a stronger and more consistent joint, specify fasteners that match the flange class and operating conditions. QinSteel supplies B7 studs with 2H nuts and ASME B16.5 flanges for demanding industrial applications.
A Practical Multi-Pass Tightening Approach
The exact number of passes and the target torque must come from the project specification, gasket manufacturer, or a qualified engineering calculation. A common controlled approach follows these stages:
- Hand-tight stage: Bring all nuts into contact using light hand tightening. Do not compress the gasket unevenly.
- First torque pass: Tighten the bolts in the approved star or cross pattern to a low percentage of the final torque, such as 30 percent.
- Second torque pass: Repeat the same pattern at a higher value, such as 60 percent of final torque.
- Final torque pass: Tighten in the same pattern to the specified final torque.
- Verification pass: If the procedure allows it, make a final circular check at the specified torque without adding extra load.
Never jump directly from hand-tight to full torque. A gradual sequence allows the gasket to compress evenly and gives the flange faces time to settle.
Typical Bolt Patterns
Four-Bolt Flange
For a four-bolt joint, tighten diagonally across the flange. Think of the bolts as positions 1, 2, 3, and 4 around the circle. Tighten 1 and 3 first, then 2 and 4.
Eight-Bolt Flange
For an eight-bolt joint, use a star pattern rather than moving around the circumference. Tighten opposite bolts first, then move to the next opposite pair while maintaining balance.
Twelve or More Bolts
Large flanges should use a documented star sequence. The pattern may use opposite or nearly opposite bolts at each stage. For critical or large-diameter joints, follow the approved bolting procedure and record the torque values.
Lubrication Changes the Required Torque
Torque is only an indirect way to create bolt preload. Friction in the threads and under the nut absorbs part of the applied torque. If a bolt is tightened dry, then the same torque is applied to a lubricated bolt, the lubricated bolt may create a much higher preload. For this reason:
- Use only the lubricant named in the procedure.
- Apply lubricant consistently to all fasteners.
- Do not mix dry, lightly oiled, and heavily lubricated bolts in the same joint.
- Do not increase torque to compensate for damaged threads or poor alignment.
Gasket Compression and Flange Facing
Different gaskets require different assembly control. A spiral wound gasket, for example, relies on controlled compression of the sealing element. A ring joint gasket seats into the groove, while a sheet gasket may require a different load profile.
The flange facing also matters. Raised face, flat face, ring joint, and tongue-and-groove joints do not behave in the same way. Use a gasket that matches the facing, pressure class, temperature, and fluid. QinSteel can supply ASME B16.20 spiral wound gaskets and compatible ASME B16.5 flanges as a coordinated joint package.
What to Inspect After Tightening
- Check that the flange gap is reasonably uniform around the joint.
- Confirm that the gasket has not been squeezed out of position.
- Look for visible thread damage, cracked washers, or signs of galling.
- Record the torque values and wrench calibration when required.
- During startup, monitor for leakage as the joint reaches operating temperature and pressure.
If a joint leaks, do not immediately apply random additional torque. Stop, depressurize where necessary, and investigate alignment, gasket condition, surface finish, bolt load, and the original tightening procedure.
Common Flange Bolt Tightening Mistakes
- Tightening bolts one by one around the circle instead of using a cross or star sequence.
- Applying full torque in a single pass.
- Using an uncalibrated torque wrench or an impact wrench for final tightening.
- Reusing corroded, stretched, or damaged fasteners.
- Ignoring the effect of lubrication on bolt preload.
- Forcing misaligned flanges together with bolt tension.
- Mixing gasket materials or flange facings without engineering review.
Frequently Asked Questions
Is a cross pattern always the correct tightening sequence?
A cross or star pattern is common because it balances load across the flange. The exact sequence should still follow the flange, gasket, and project procedure.
What torque should I use?
Use the torque value supplied by the project specification or calculated for the specific bolt size, material, lubricant, gasket, and service conditions. Do not copy a torque value from an unrelated joint.
Can I retighten a flange after startup?
Only if the approved procedure permits it. Hot tightening has additional safety and load-control requirements, and the joint may need to be depressurized first.
Do flange washers matter?
Yes. Hardened washers can improve load distribution and reduce friction variation when the bolting procedure requires them.
Conclusion
A reliable flange joint starts with correct components and controlled assembly. Use the specified gasket and fasteners, verify alignment and surface condition, follow a documented multi-pass star sequence, and record the final torque. These steps do not replace engineering judgment, but they reduce the most common causes of uneven gasket compression and flange leakage.
For ASME B16.5 flanges, B7 studs with 2H nuts, and ASME B16.20 spiral wound gaskets, contact QinSteel for product selection and project support.
Learn about our latest products and discounts through SMS or email